overview
Table of Contents
- Overview
- Requirements
- Installation
- How to access the API browser
- Expectations
- Recommendations
- Load a saved configuration using ReST API
Overview
Starting with version 8.50, an API browser was introduced to improve the user experience in automation.
The API browser is a view of the configuration shown in a hierarchical tree view.
The API browser is supported for Windows and Linux Gateway server.
The installation formats are OVA or QCOW2.
Requirement
IxLoad minimum version 8.50
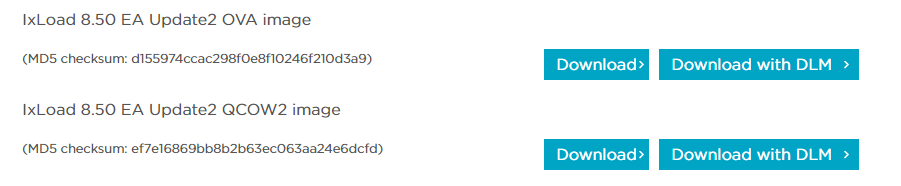
Installation
Download the Linux Gateway service with an OVA or QCOW2 image.
How to access the API browser
To access to the API browser on the IxLoad gateway on either Windows or Linux
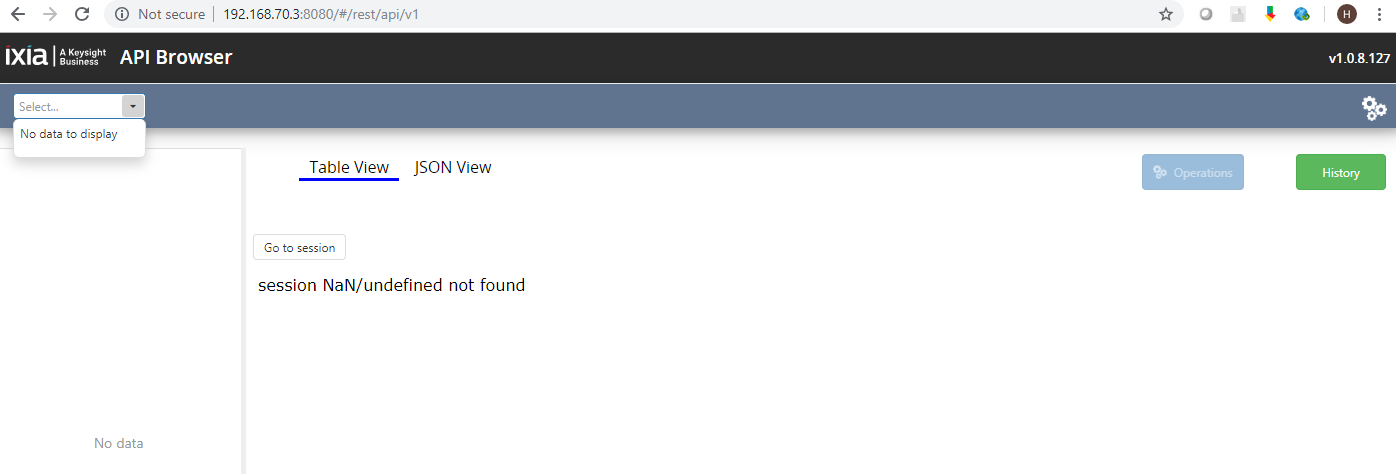
- On a web browser, enter either http://<ip:8080> or https://<ip:8443>
The API browser will be empty
To view a configuration in the API browser, you use a ReST Client like Postman, VScode ReST Client or a ReST API script to load a saved configuration first.
Then go to the API browser to view the configuration under its session ID.
Expectations
IxLoad configurations in the GUI will not be reflected on the API browser.
The API browser doesn't have the capability to load a saved configuration.
Recommandation
- Use the Linux Web UI to load the saved configuration file.
- Because this approach allows you to view the configuration in the API browser.
- Whereas in Windows, you cannot load your saved configuration in the IxLoad GUI and view the configuration in the Windows API browser.
Lets begin by connecting to an API browser of your choice
As shown below, it will be empty since no configuration has been loaded yet.
You need to use a third party ReST client tool to load your configuration
Follow the steps below by entering the ReST API syntaxes
You could use our sample script LoadSavedConfigFile.py also
Load a saved configuration using ReST API
      On a ReST API client tool, enter the following syntaxes:

      Step 1: Create a session. Change the version to your IxLoad version.
      POST: http://<IP address>:8080/api/v0/sessions data={"ixLoadVersion":"8.00.0.140"} application/JSON

      # Step 2: Get the session ID and the Object ID
      GET: http://<IP address>:8080/api/v0/sessions

      # Step 3: Activate the session
      POST: http://<IP address>:8080/api/v0/sessions/<session Id>/operations/start application/JSON

      # Verify that the session ID is activated
      GET: http://<IP address>:8080/api/v0/sessions/<session Id>

      # Step 4: Load a saved config file
      POST: http://<IP address>:8080/api/v0/sessions/<session Id>/ixload/test/operations/loadTest/0
      data={"fullPath":"C:\\Results\\tcp_8.0.rxf"} application/JSON

      # Step 5: Get the Operations ID number from Step 4 returned *headers*

      # Verify the load config POST action
      # status="In Progress|successful", state="executing|finished"
      GET: http://<IP address>:8080/api/v0/sessions/<session Id>/ixload/test/operations/loadTest/<operations Id>
with a configuration loaded, on a web browser, enter: http://<ip address>:8080
Then select your session ID at the top left corner
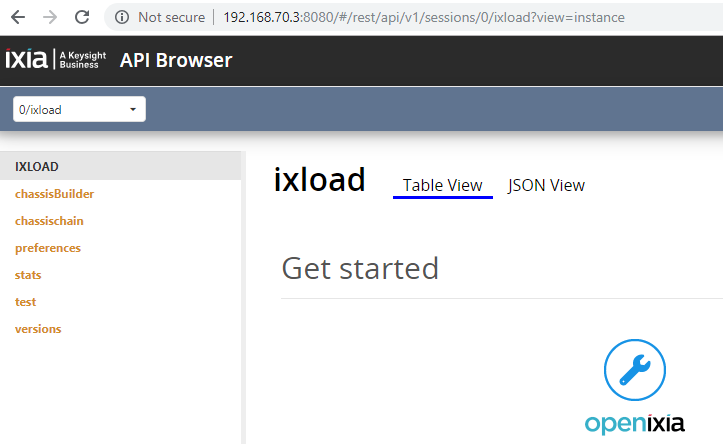
Now you could browse the API tree for your script development
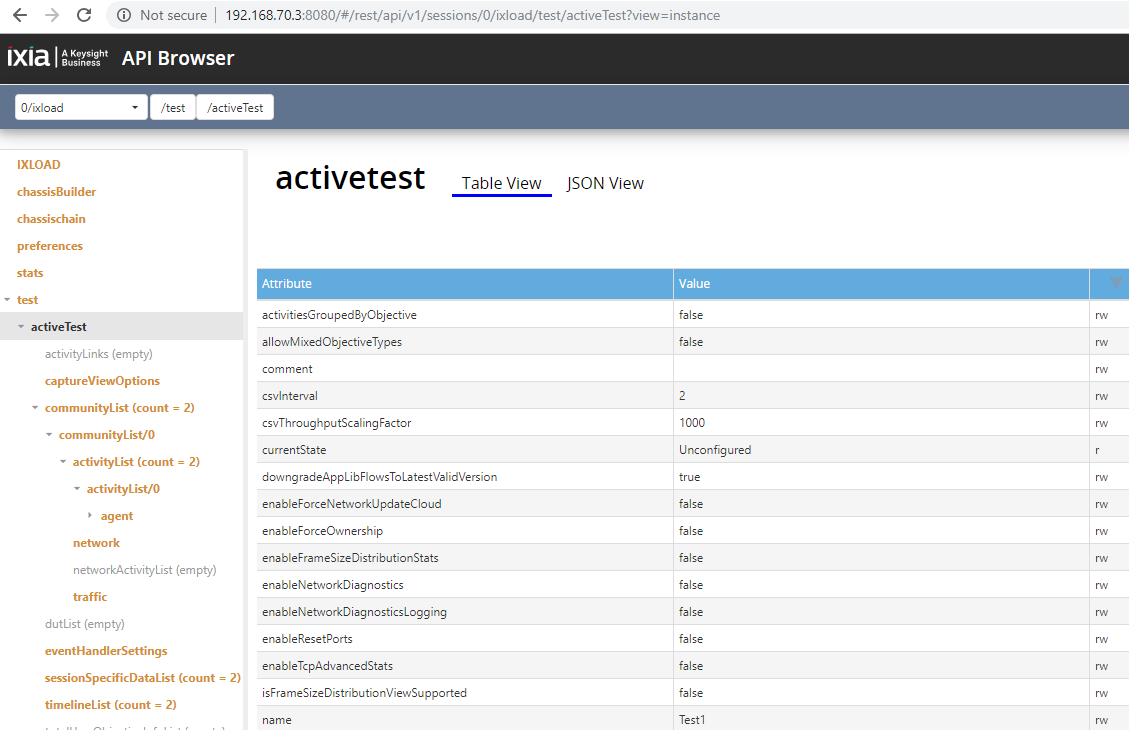
To get the stat names for your script to poll at run time:
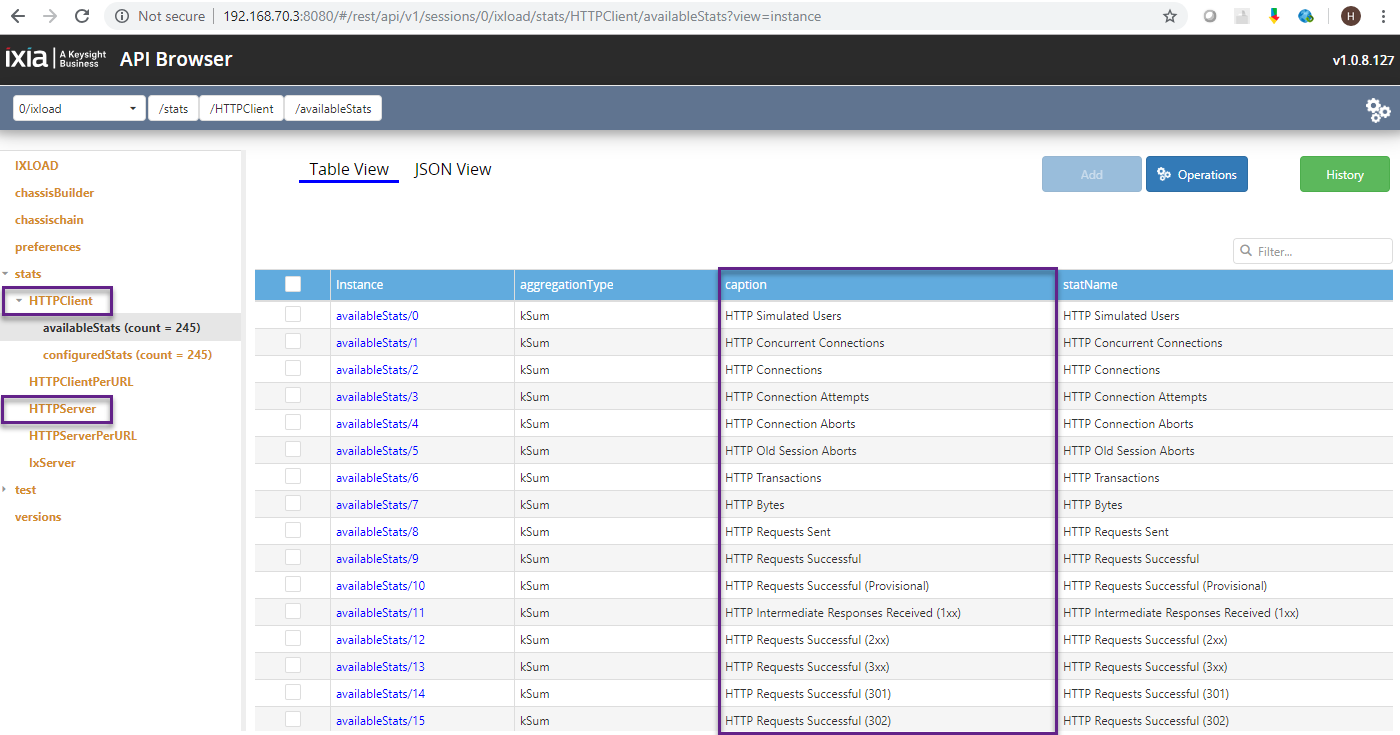
- Begin at the stat endpoint
- All of the loaded configuration's available stats will be displayed
- For example: HTTPClient and HTTPServer are the stat titles that you need to note down
In our IxLoad ReST API sample scripts, insert the stats like this
  statsDict = {
     'HTTPClient': ['TCP Connections Established',
                    'HTTP Simulated Users',
                    'HTTP Concurrent Connections',
                    'HTTP Connections',
                    'HTTP Transactions',
                    'HTTP Connection Attempts'
                ],
     'HTTPServer': ['TCP Connections Established',
                    'TCP Connection Requests Failed'
                ]
  }
Here is a sample script from our Github: LoadConfigFile.py